DIY barrel weight plus proper mental game equals tens!
Yesterday was a shorter training run than tuesdays, only about an hour or so spent shooting on the line, but there were non-shooting activities to get through as well, with cleaning the rifle with my new cleaning kit (more on that in another post) and adding a weight at the muzzle end of the barrel.
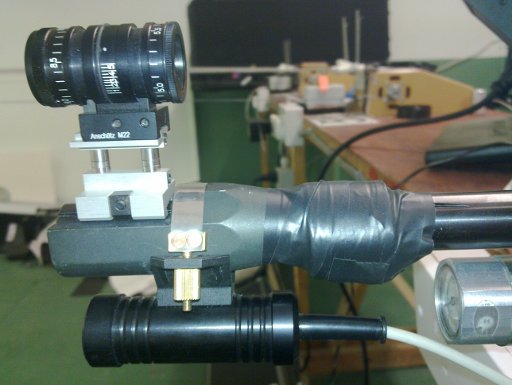
The weight proved awkward – we didn’t have any of the over-barrel weights I was hoping to use and my anschutz-specific barrel weight (the only one I have to hand) is on a shelf over the workbench in DURC which is awkward when you’re in WTSC 😀 I scoured around looking for unused weights but didn’t find anything that would fit, and then I found some leftover lead from when we were making up the weights for my home training setup (which is a wooden stock weighed with lead to let me do balance work at home). A bit of rolling and a lot of electrical tape later and viola, a standard WTSC bodge job homemade barrel weight 🙂
Some of the more observant readers may have noticed that this homemade contraption is hanging a little low and that the air cylinder appears to be closer to the barrel than the edge of the weight… and they’d be correct. On dissassembling the rifle after training, I found that the weight prevented removal of the cylinder, and as you can see, it’s taped in place. So out with the penknife, cut away all the tape, then rework the weight so that it’s thinner underneath and all the weight’s up above the barrel:
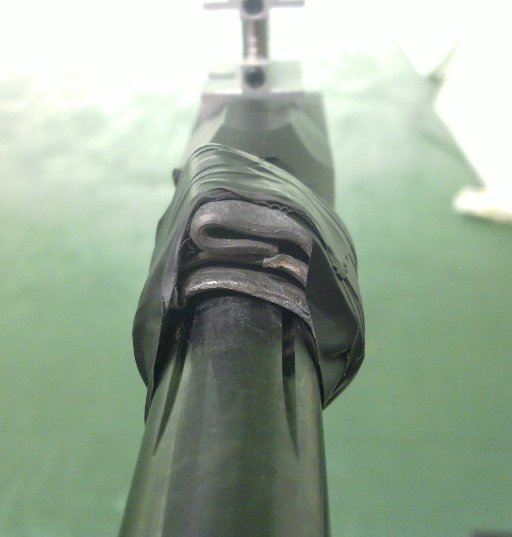
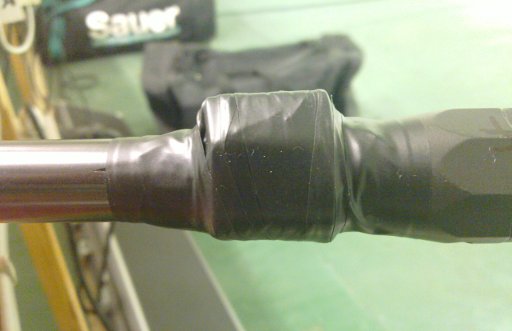
The air cylinder can now be inserted and removed at will, and as soon as the match on Sunday’s over, I’ll get something a little less… homemade sorted out.
The idea behind doing this in the first place was simple enough – a little weight out at the far end of the barrel will add to the barrel’s inertia and make it easier to reduce side-to-side wobble in the hold. Allegedly. In theory. I have to say that I think there was an improvement, but it’ll take more RIKA time tonight to tell for sure and to quantify it. I’ll have to shoot on better shooting days than last night (when my position and hold didn’t feel as solid as they have on other days) in order to confirm it.
However, last night did have some good results. I was working on the hold initially, but Matt changed focus a few shots in after noticing that when I was settling towards the pre-aim, the RIKA showed me hovering off to the top right of the target, and then moving in during the preaim; and then as I was dropping my head to the cheekpiece, moving out to the right again. After a while of looking at it, I noticed that during my preaim, I’m lining up a spot on the rearsight and the center of the foresight ring with a plumbline down from the bull; but because of the shape of my face, when I drop my cheek to the cheekpiece, it pushes the rifle out the right slightly. The fix seemed simple; now, instead of the foresight ring being on the plumbline, I use the gap between the foresight ring and the right-hand-side cant bar in the foresight tunnel:
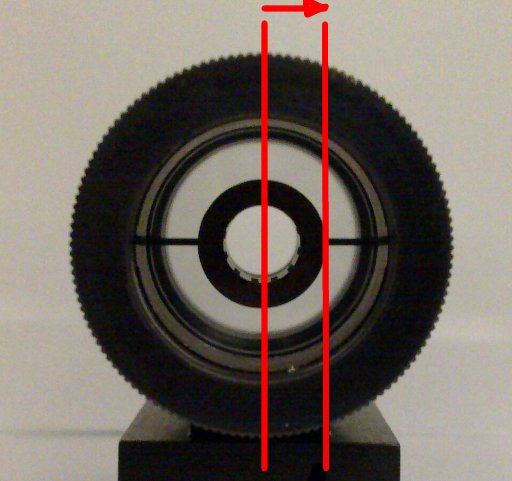
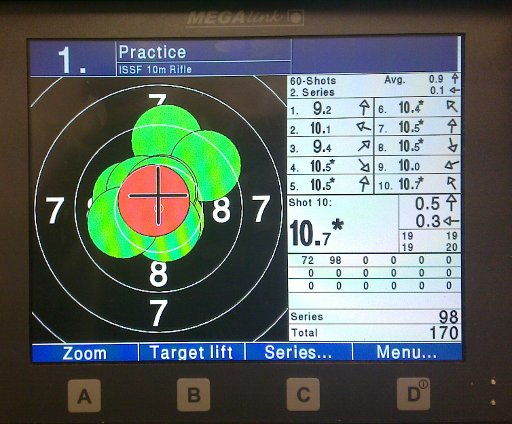
With that change made, the preaim is a little finickier, but the aim gets much better. The results show this:
The two nines were fliers shot before the changes to the preaim, as the RIKA shows:
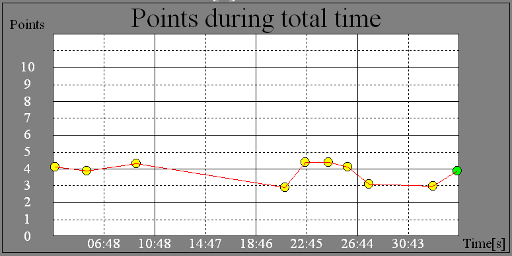
Again, ignore the score values as the RIKA calibration was a tad off:
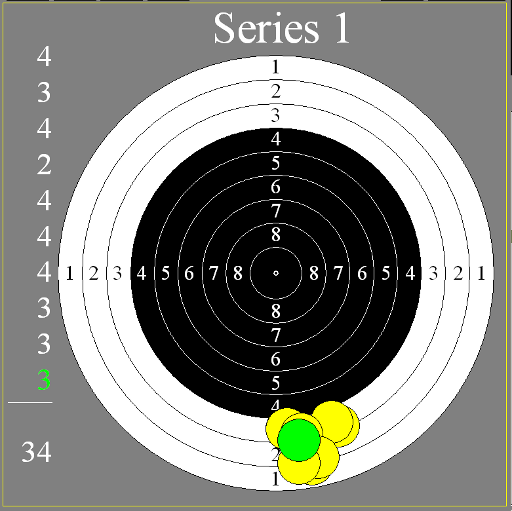
And here are the traces, looking at the hold:
And looking at the approach:
Long gap there between shots #3 and #4 as we changed the pre-aim routine (and started the RIKA saving the last 30 seconds before the shot instead of the last 10). And then there’s the really good bit of the evening, between shots #8 and #9. There’s a hole in my mental game where I catch sight of a string of tens and think “just one more…” and then promptly stuff it up and shoot an eight. We’ve been working on that too – it’s why the shot routine has morphed into a series of changes and checks, along the lines of “Do step 1; check step 1; only go on to step 2 if step 1 passes the check” and so on. Tonight it worked for the first time – it was hairy and difficult and nearly didn’t several times, but eventually I was able to rely on the checklist approach to get me through the shot and put in a decent execution (and was rewarded with a 10.0). That is the part of the evening I’m really chuffed with.
So tonight, we’re going to test the new routine a bit more, and also shoot on the RIKA with a few different foresight sizes – that group above was shot with a 3.8 foresight (which is a wee bit small for those who don’t shoot much air rifle, it’s as low as my foresight can adjust to, and normally you just use that for training and shoot a match on a higher setting). We need to shoot some shots on the RIKA at 3.8, 4.0, 4.2 and 4.4 to get an idea of what the effect on the hold will be. Given that you normally set the foresight according to the range lighting, it’s worth knowing what the different sizes will do to the hold; though I’m reasonably sure that the change in lighting might also be a factor in the hold…
Leave a Reply