WTSC gets Megalink targets!
So we’ve not mentioned anything about this, but for the last few weeks, WTSC has been sourcing two new Megalink electronic targets for the range, to help train for competitions on ranges which use them, as well as to allow us to do some forms of training that are a bit more difficult at the moment.
They were shipped from Norway earlier this month and arrived in Dublin early this week, and as soon as customs duties and VAT were paid, we took delivery of them (on Wednesday) and last night saw myself, Matt and Geoff working away setting them up. You don’t see too many photos of the setup process, so I took photos all the way through from unpacking to the final setup:
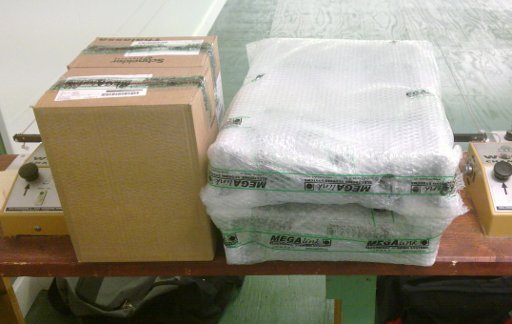
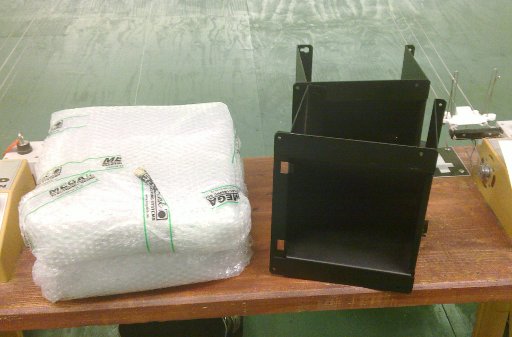
The original delivery box had to be loaded into Geoff’s little van by forklift, and then carried by two of us to the range itself. 63kg in total for the whole setup, and not a 63kg that you’d want to drop either 😀 We unpacked the box and carried the individual components upstairs to the range:
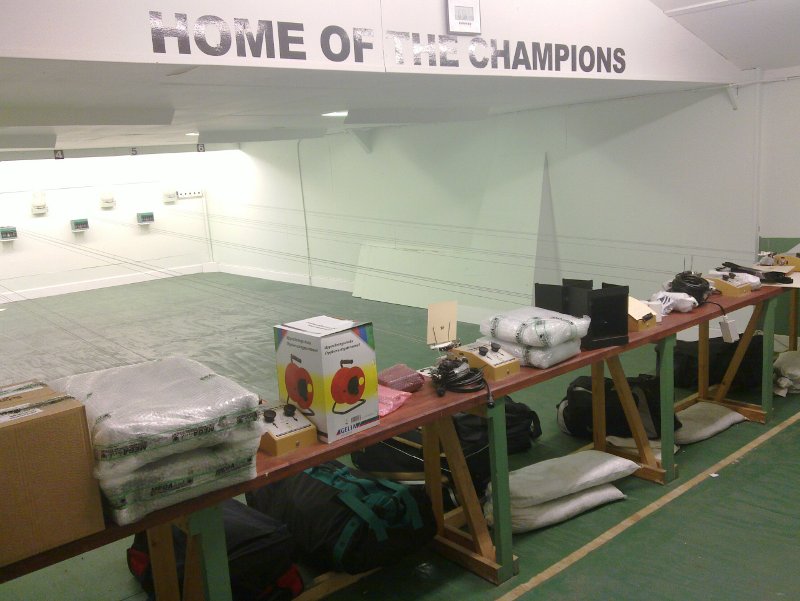
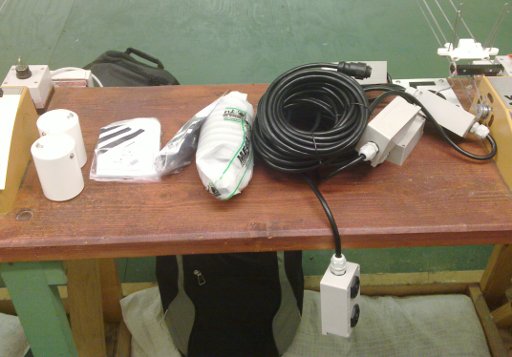
There’s a lot of stuff in the system 😀
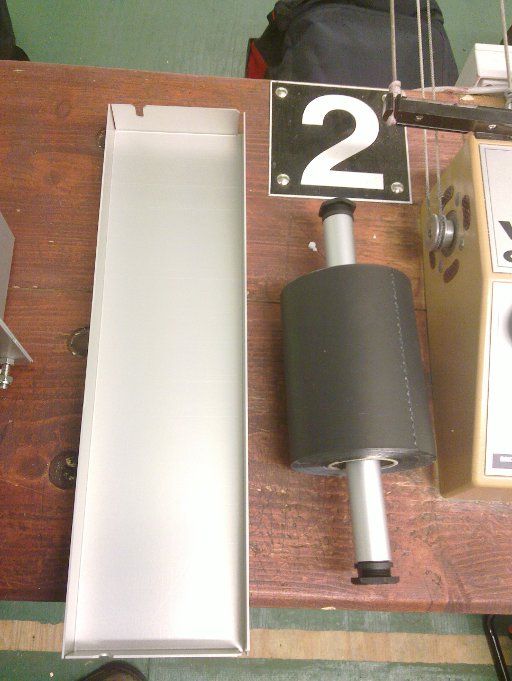
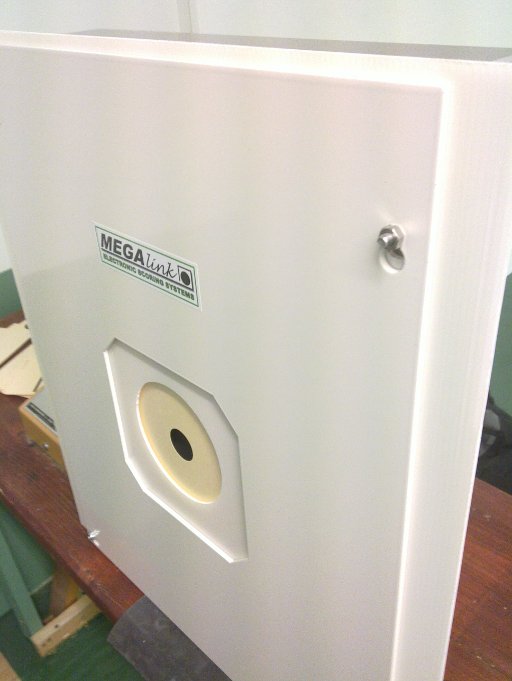
That last component there is the armor for the front of the Megalink targets, and probably makes up half the weight of the entire system 😀
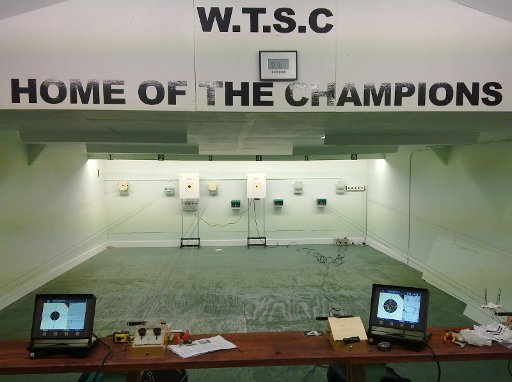
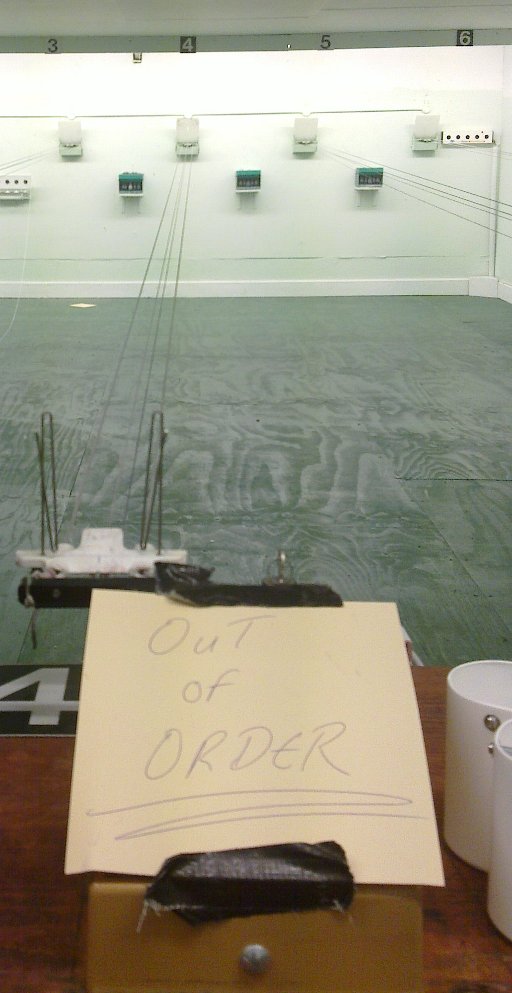
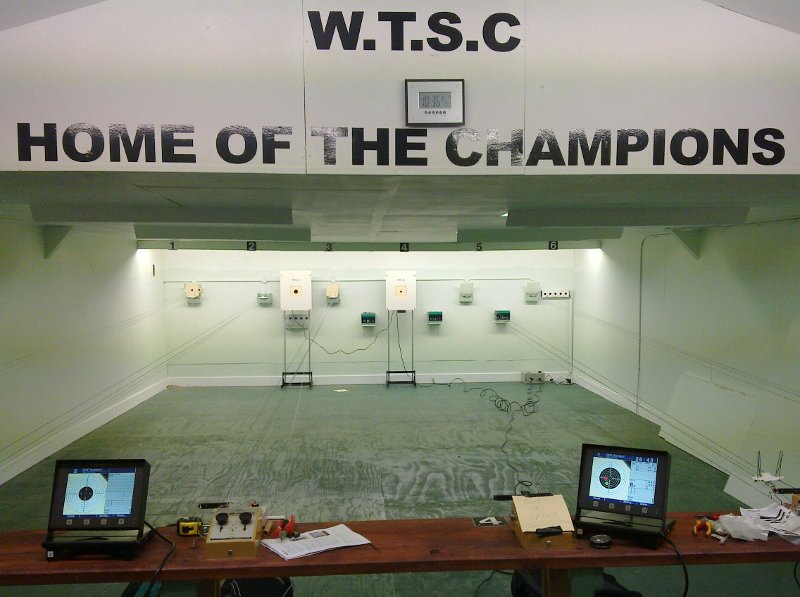
The next step was to figure out where the targets would go. We have one obvious candidate, given that firing point number four has been offline for about two months now:
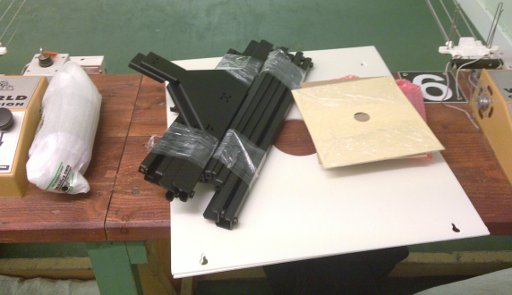
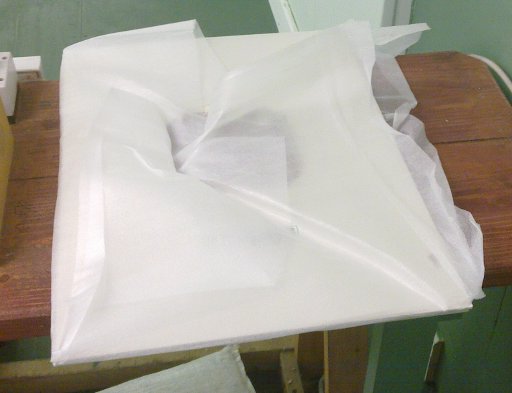
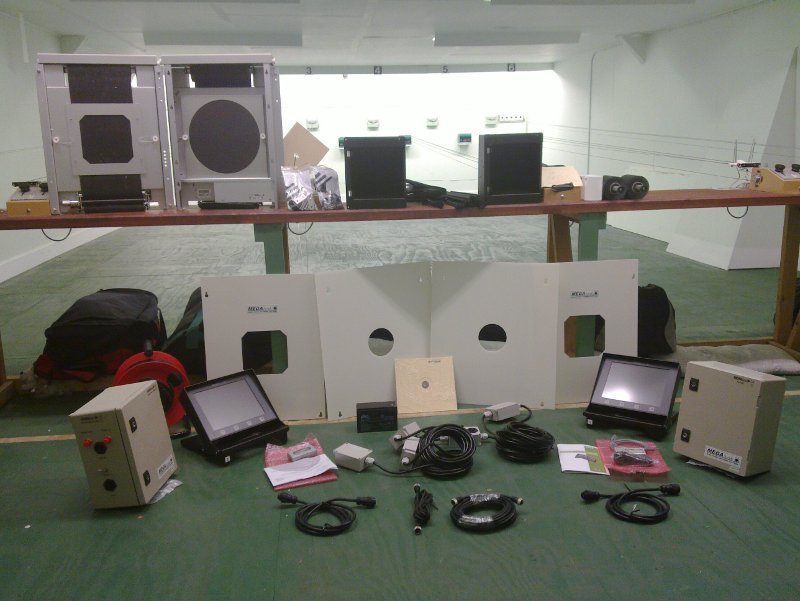
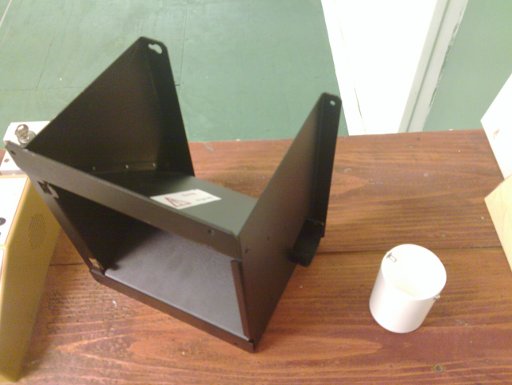
The second target would go up between firing points two and three, and we have a new pellet catcher to go behind it – more on that later. For now, the first job is to completely unwrap all the components and take stock of what we have:
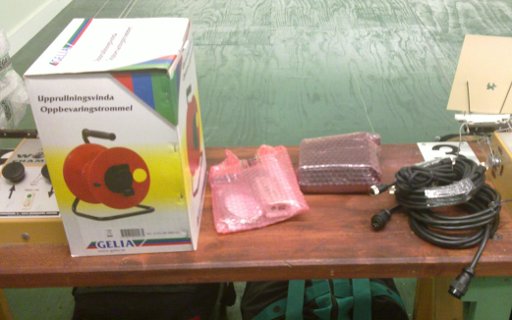
There we go, that’s everything. Including some bits we won’t be needing immediately – these megalink targets are able to do duty for both 10m airgun and 25m/50m smallbore shooting (rifle and pistol); we hope to be able to use them for that (though not in this range!) in the future, or to be able to loan them for important competitions.
A closer look at some of the components:
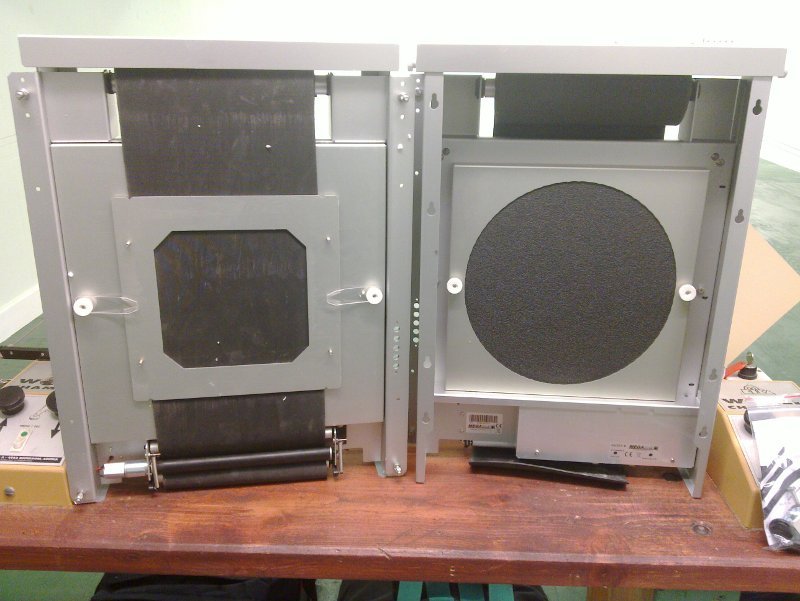
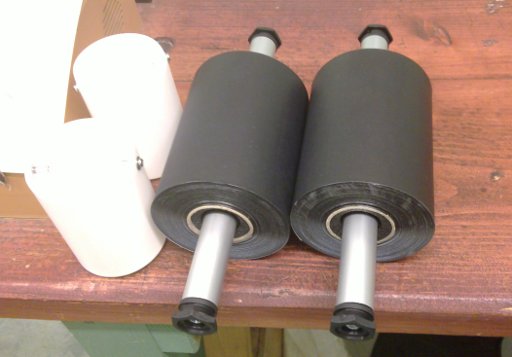
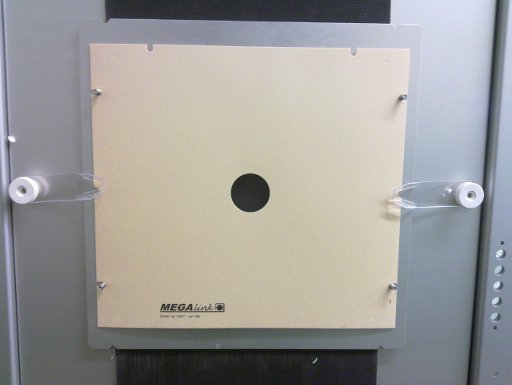
These are the actual targets themselves, front (on the left) and back (on the right). The large round disk on the back is to a solid piece of material; how well it holds up to a hundred or two pellets a week remains to be seen. The rubber strip you can see on the front is actually for smallbore shooting; for airgun we use these paper strips instead:
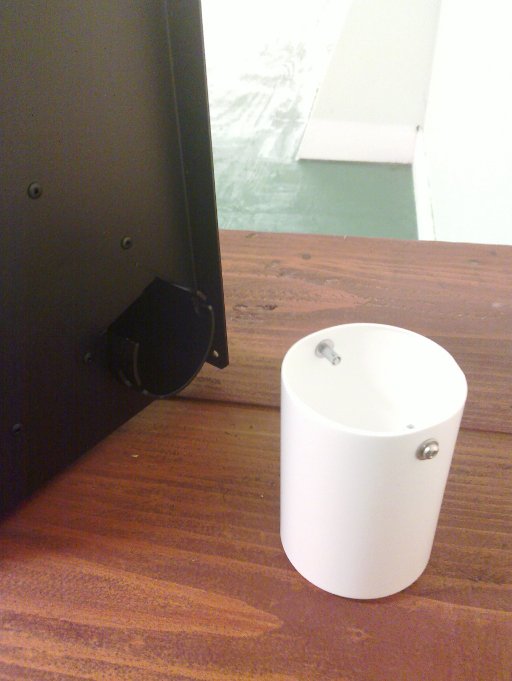
The small cups to the left there are for the pellet catchers; they attach to the sides of the catchers:
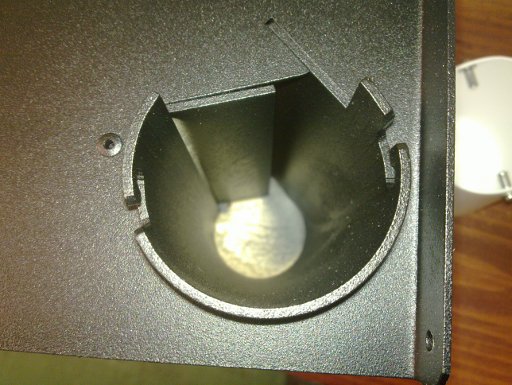
Specifically, to the small tube-like protusion on the bottom corner of the catchers:
The pellets coming in are deflected off the angled backplate and into the tube, where they spin round and round losing velocity until coming to a stop:
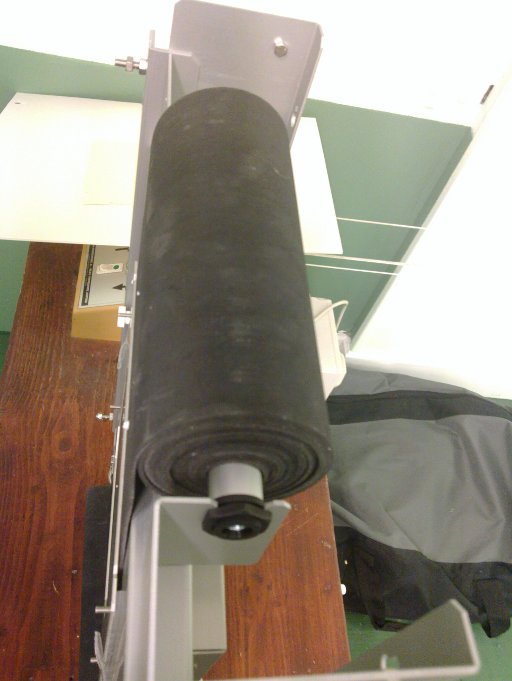
So, the first job was to replace the rubber tape with the paper tape:
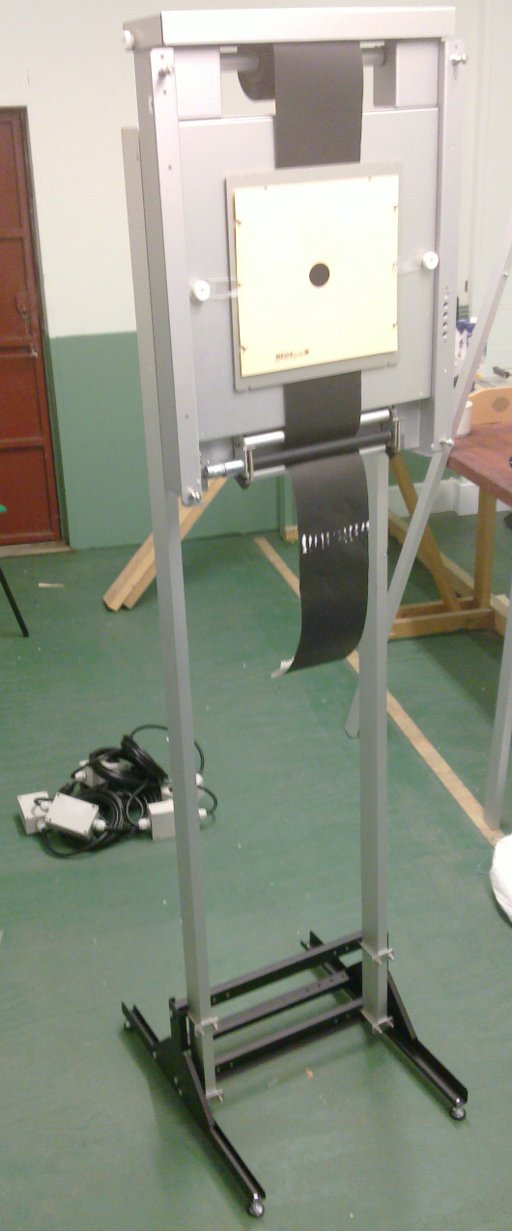
The plastic nuts loosen up and the roller lifts right out; then we carefully extract the rubber tape after it; and then replace with the paper tape and replace the cover that goes over the top of the tape (seen on the left here):
Then we add in the paper target part of the megalink (these targets don’t get rid of the need for paper targets, you wind up needing two kinds of paper targets now – the tape, all the time, and these masks, every time someone misses the aiming mark and puts a pellet in the white; for which they have to buy the club secretary a drink 😀 ):
With that done, we assemble the legs and feet for the target, and hang it from them:
And then hang the armor on the front (here we’d hung the white card as well, but that’s really for smallbore only and we won’t use it for airgun normally):
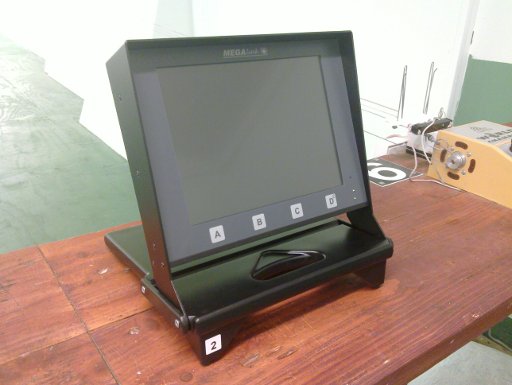
And now that the targets are assembled, the mechanical part of the job is over, and it’s time to look to the electronics. The display units themselves are very self contained and need no setup:
Those of you who’ve used megalinks before might notice slight differences in the design; this is one of the latest colour display units. More screenshots later 😉
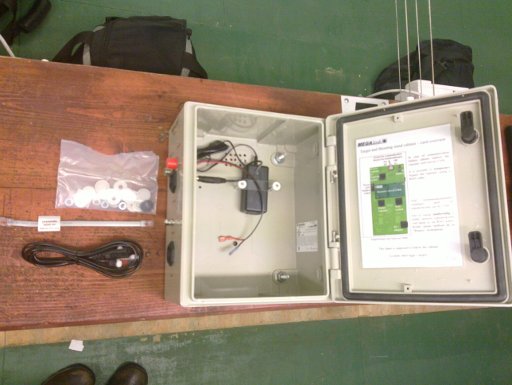
The actual controller boxes are large, but mostly empty:
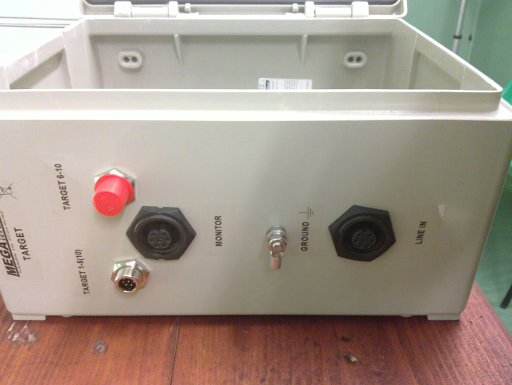
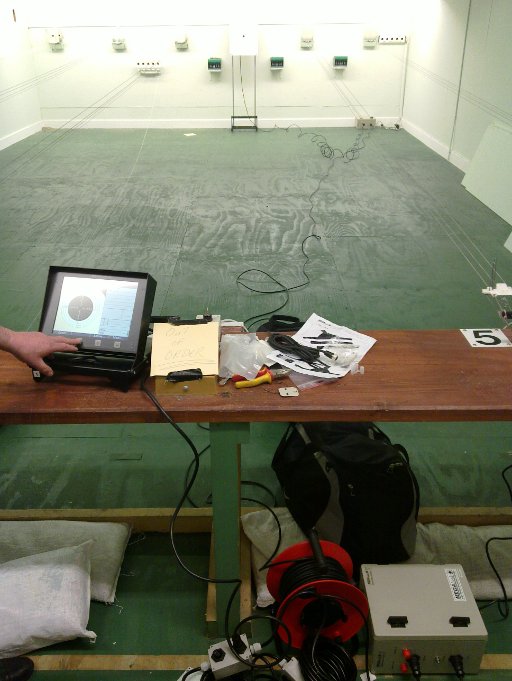
We hooked up the plugs and battery, and placed that box at the end of the range and it’s counterpart at the firing line; hooked up all the cables to it according to the manual and under the able supervision of Foreman Geoff:
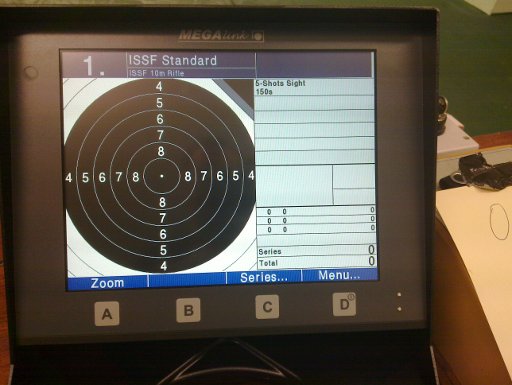
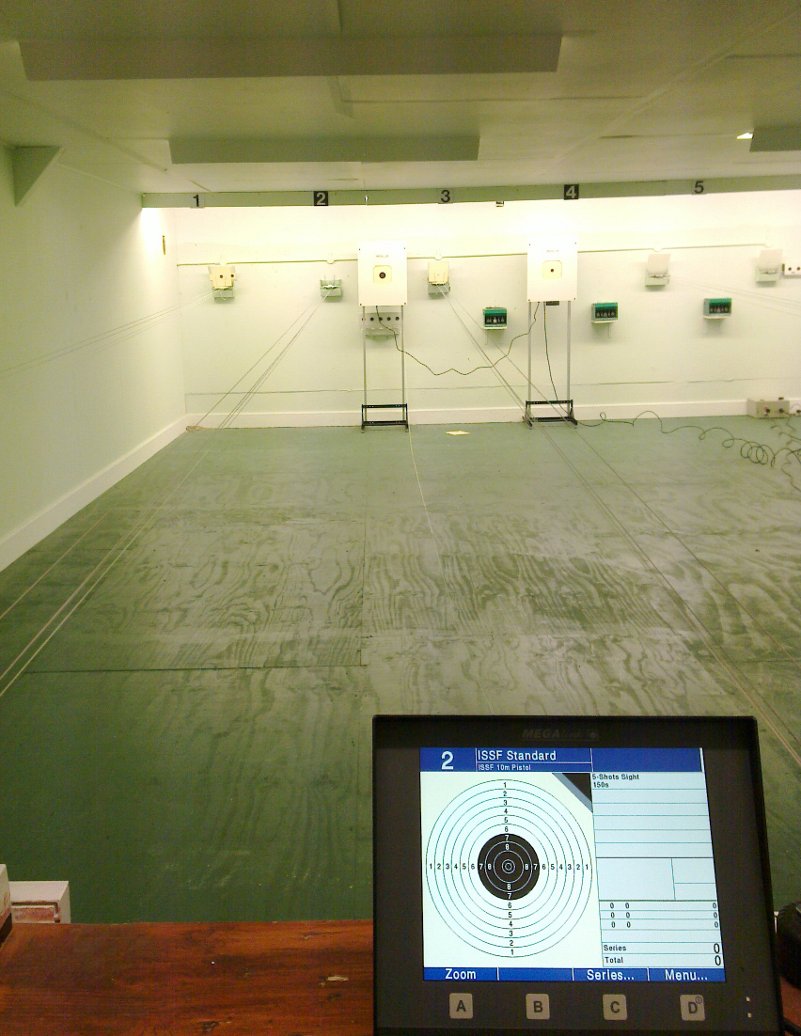
Then we plugged in the power and fired it all up:
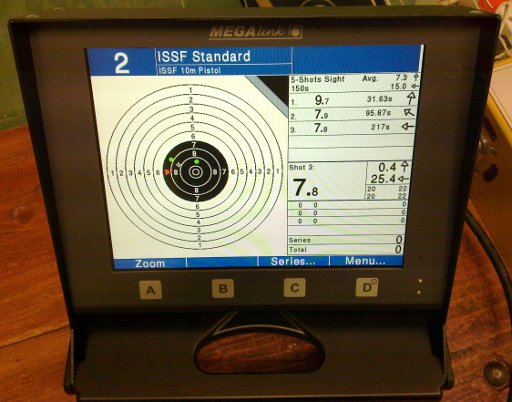
Huzzah! And in color too…
Granted, not much colour there just yet, but wait till we start shooting and you’ll see some more.
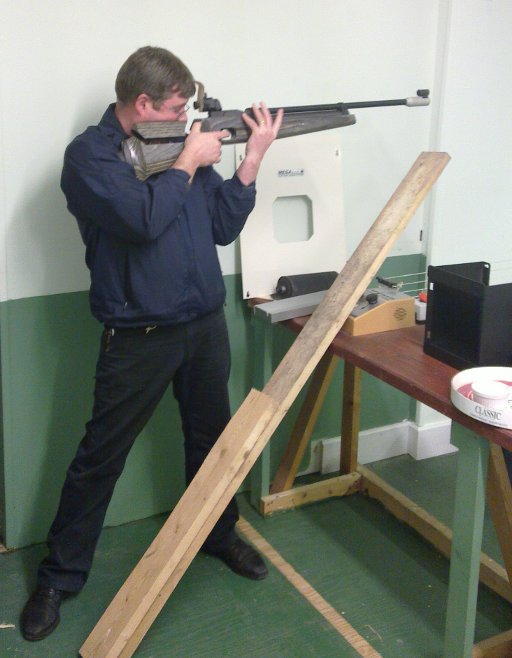
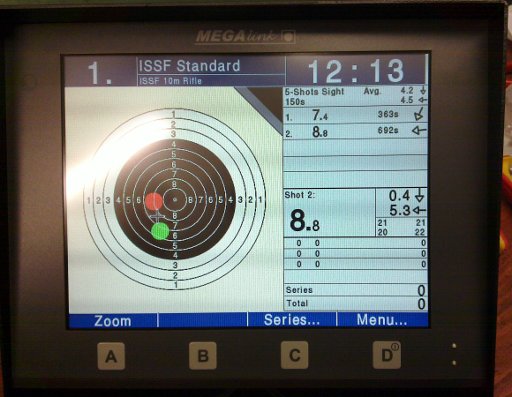
Because you have to shoot, obviously. You can’t not test this 😀 So Matt is up first to test target one, which is set up for rifle on firing point four…
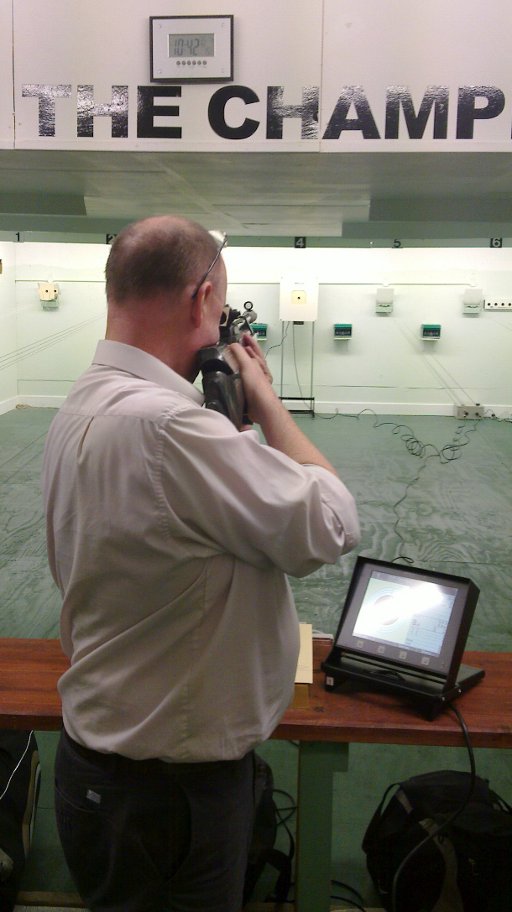
And Matt being Matt, just picks up any old rifle (in this case the heaviest, oldest, most aggressively left-handed rifle we had – my back is still hurting from shooting it today), warms up and then goes to take the shot:
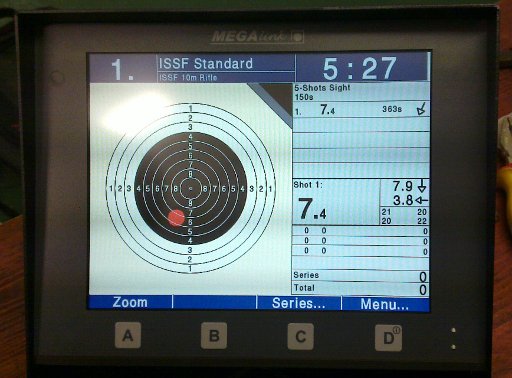
And hits the target first time:
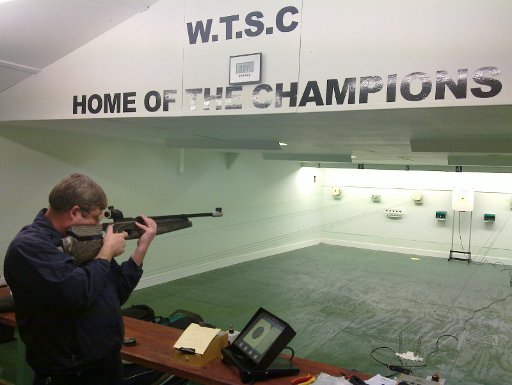
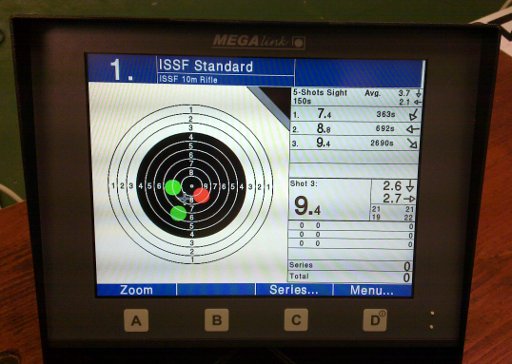
I’m up next and don’t do too badly for a rifle that fits me about as badly as it can:
Bragging rights are MINE! 😀
And then we have to go and let Geoff have a go:
Gah. But the important thing is that I beat Matt!
With the first target up and running and setup for rifle, we assembled the second target and rigged it for pistol shooting (just for the heck of it; it may be changed back to rifle in the future):
It’s very easy to add targets, as you can see – the target and the display both daisychain off the existing infrastructure. So adding a third target will be far less expensive than buying the first because you don’t need new controller boxes or interfaces, just the target and the display.
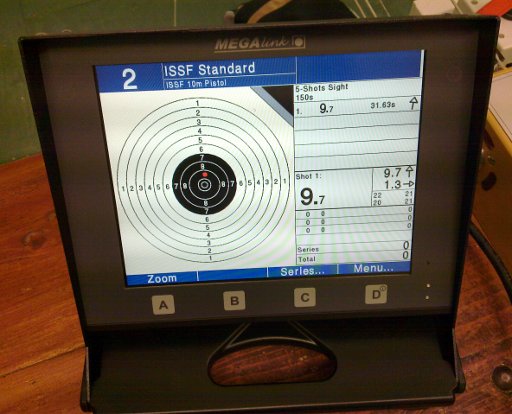
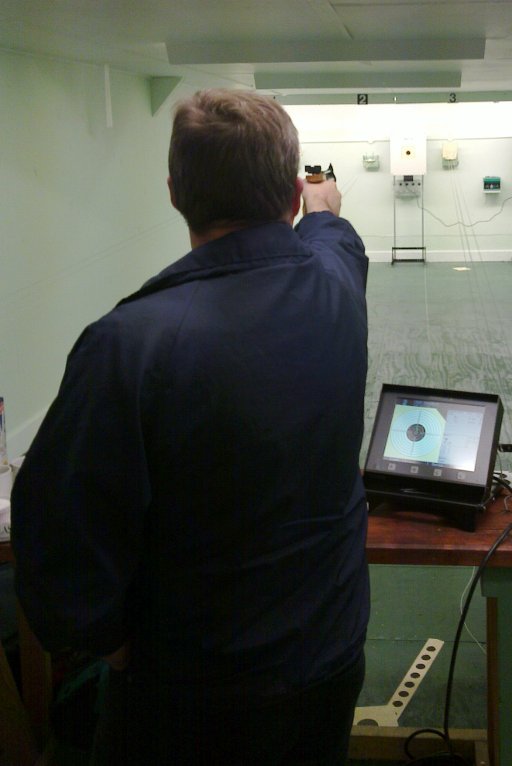
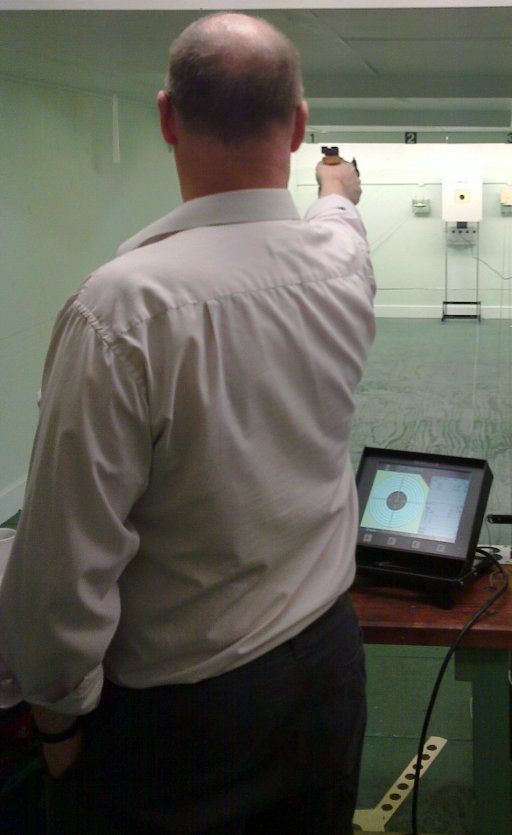
And now that the pistol target was set up, it had to be tested:
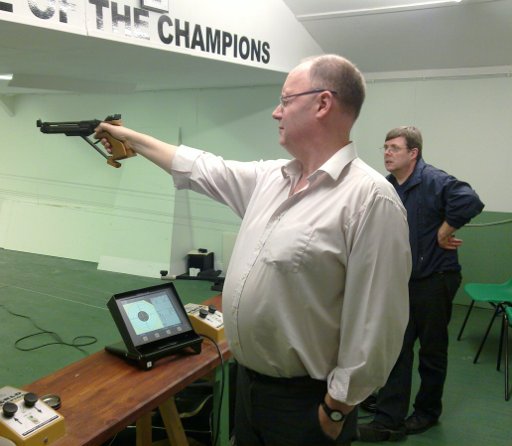
Then Matt and Geoff christened the pistol target:
And bragging rights were mine again! 😀
Sorry about the odd color distortions on the screen in some of those photos; it’s caused by the phone camera and the display not getting on. It doesn’t look like that in real life.
And so that’s the two targets set up for the moment. We’re going to put in proper permanent fixings for them, while ensuring that they can be made mobile and taken out of the range if necessary. We won’t be starting beginners off on them though, we’ll stick with paper targets for that because as snazzy as these look, there are some things you can’t do with them:

That’s pretty hard to do on a Megalink, for example. Not impossible, but far simpler on paper, as is this very fundamental pistol training target:

No, not kidding, that’s a real target (we usually just turn a normal target round rather than buy them specially though 😀 ). So the megalink will have its uses but it won’t supplant paper targets completely, not yet…


[…] This post was mentioned on Twitter by Mark Dennehy, Mark Dennehy. Mark Dennehy said: #10point9 : WTSC gets Megalink targets!: Wilkinstown Target Shooting Club just took delivery of new Megalink targe… http://bit.ly/cW5L8q […]